Docker has become an essential skill for developers and an integral part of DevOps practices in modern software development. The Docker container make application more efficiently and reliably accross different environments.
This article mainly to record down my on hand experience about deploying Docker on AWS.
To achieve this, I will need to:
- Create a AWS account and a custom role
- Create a S3 bucket to store Terraform state
- Create a Terraform Github repository and coding
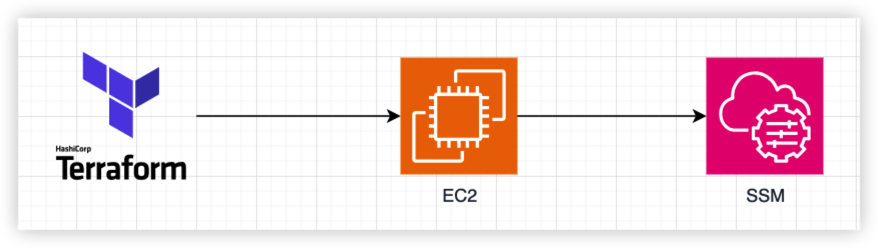
- Run Terraform to create AWS EC2
Docker Deploy
Amazon Web Service (AWS) provide 6 months free plan for new user the free cost up to 200 USD.
I will apply the free plan and create Docker to AWS EC2.
AWS Authentication
Generate Access Key
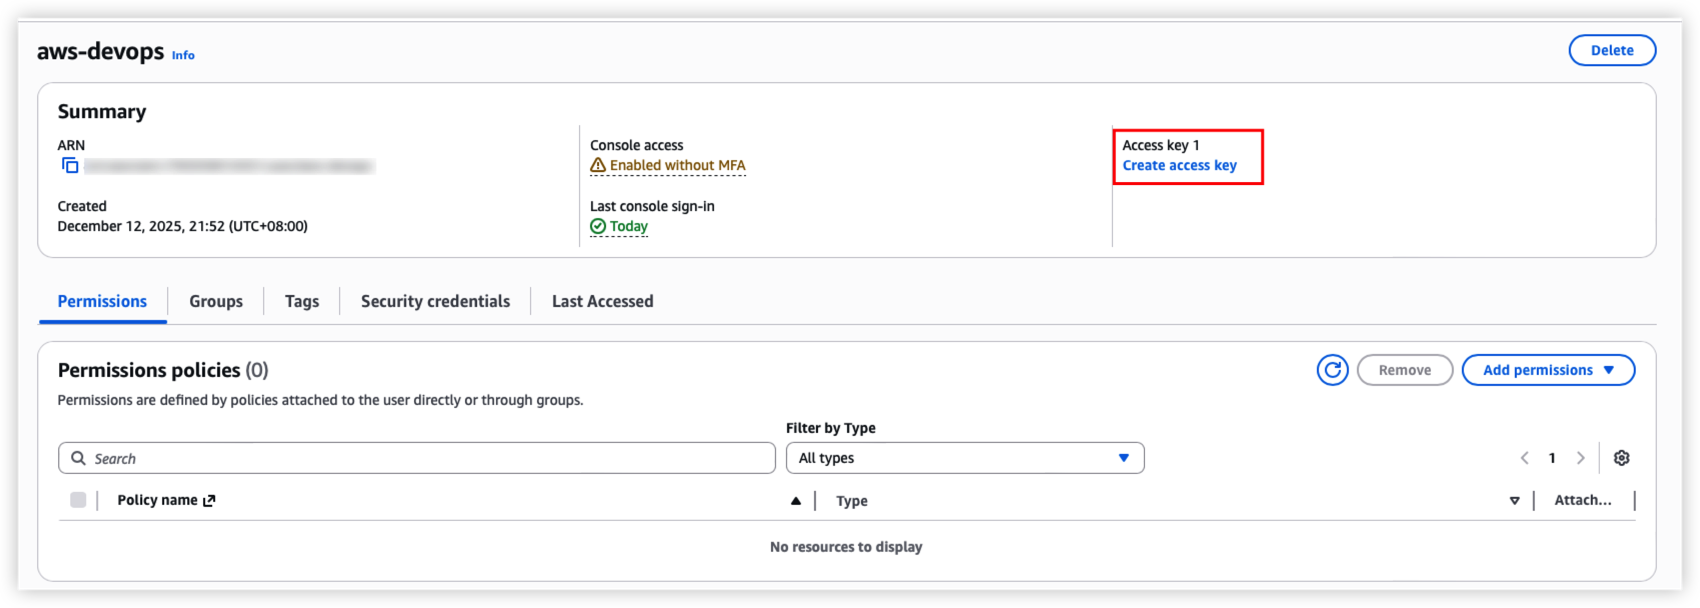
Firstly, Create a new user, don’t use root user to operate AWS resource.
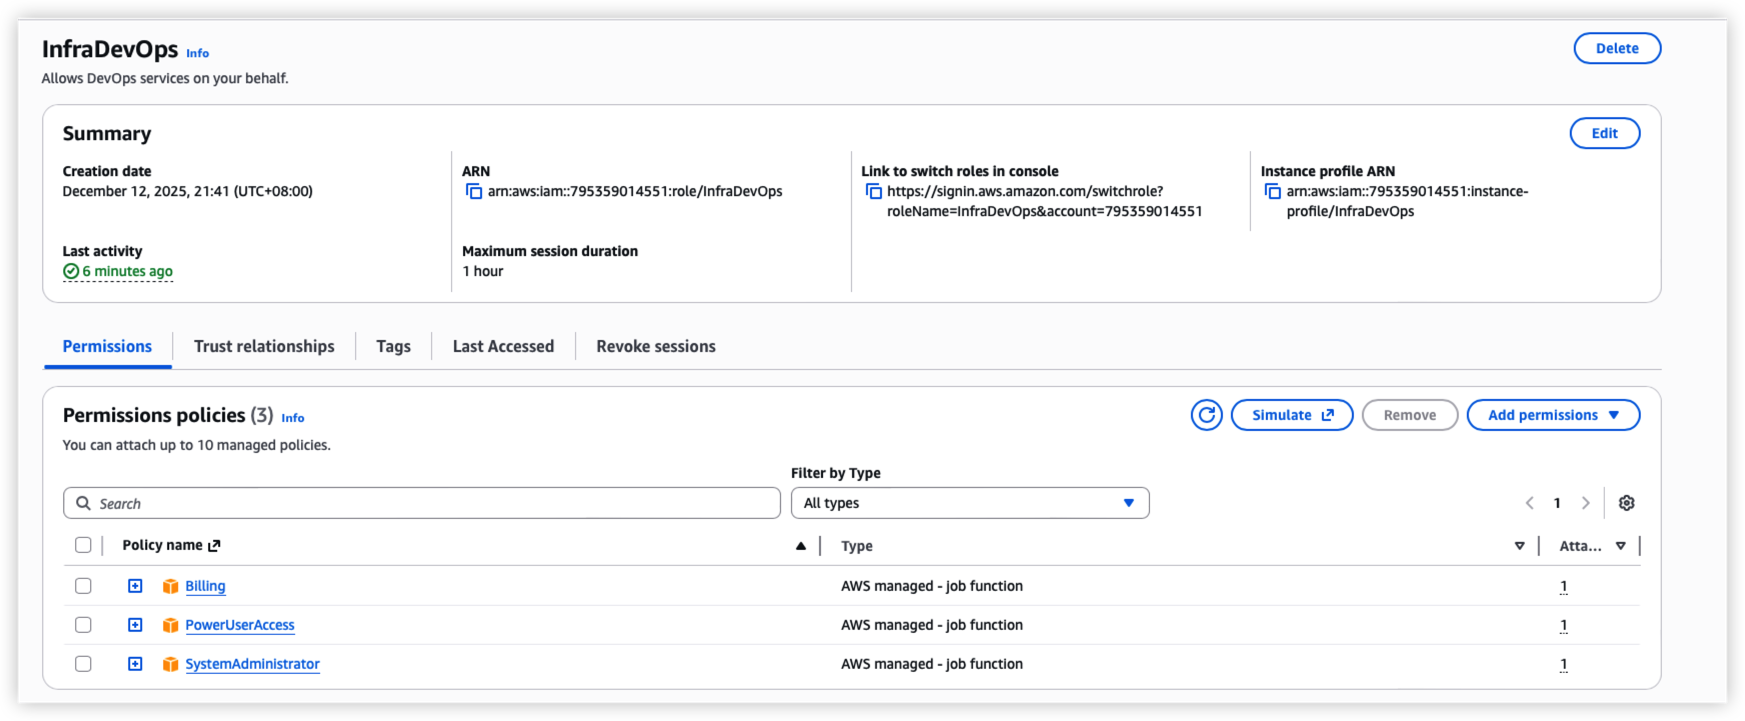
Setup the root user and role, assign trust relationships and role policy, make sure the new user can assume the new roles.
Secondly. login with new user, switch to role, and switch to IAM function so that we can create access key for terraform api call.
Select Command Line Interface (CLI) , click “Next” button
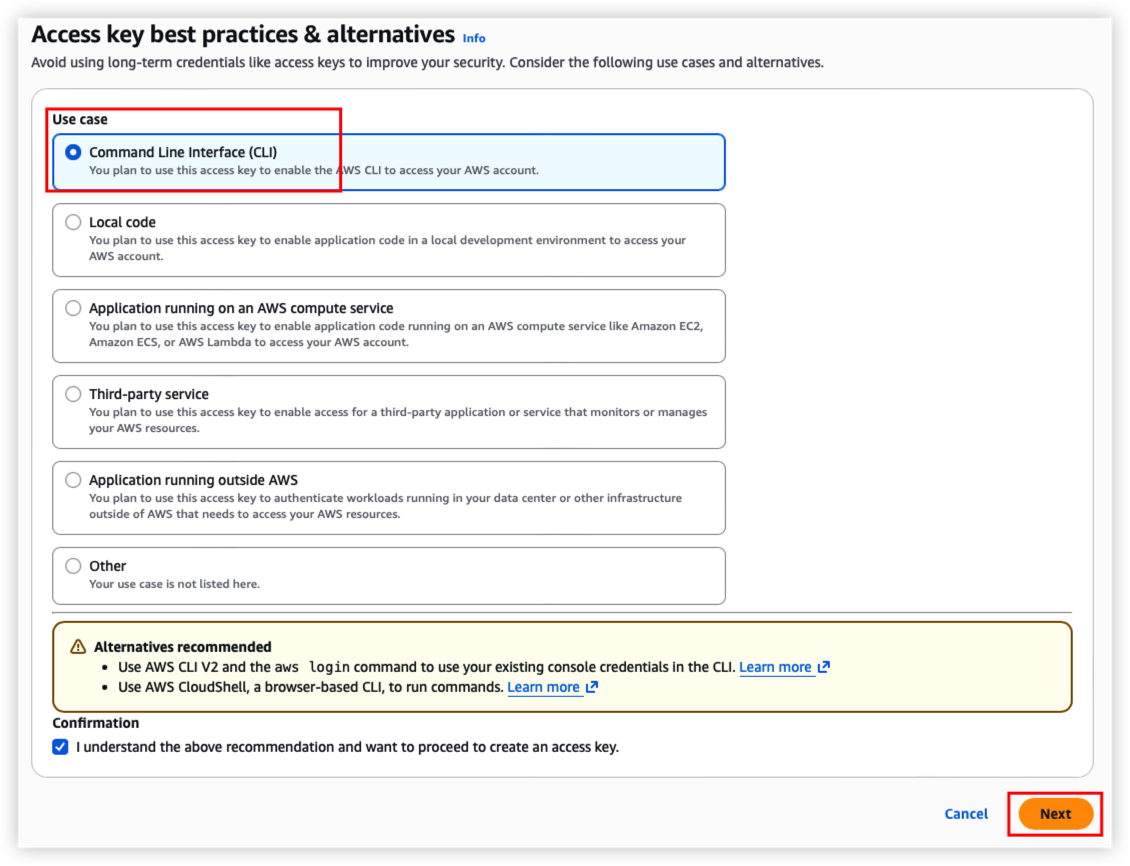
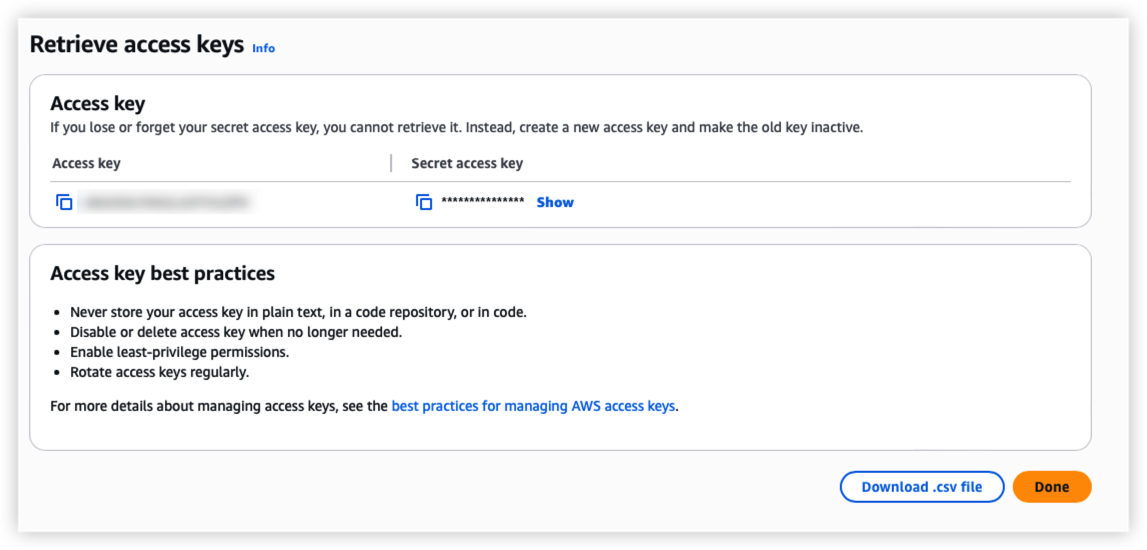
Provide description for the access key and then confirm.
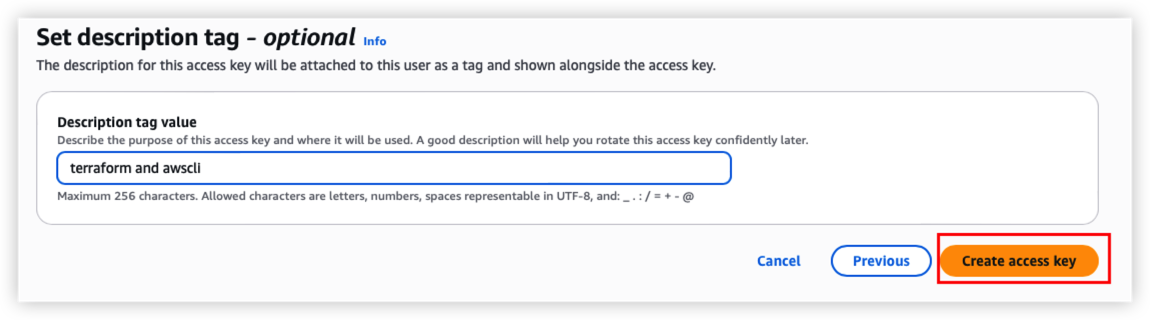
Remember to store your key safely.
*Each IAM user can have a maximum of two active access keys at a time.
Install AWS CLI and Login
Install AWS CLI on local machine, execute below command.
*For Mac, we can download pkg directly.
1 | brew install awscli |
Regarding authenticate to AWS via command line, we have 2 methods to configure the access.
The first method is to setup Linux variable.
From above result, we need to config AWS key pair and region
1 | # Better to store it on ~/.bash_profile |
To verify AWS config, run below command
1 | aws sts assume-role --role-arn arn:aws:iam::$AWS_ACCOUNT_ID:role/$AWS_ROLE_NAME --role-session-name "CLI-Session" |
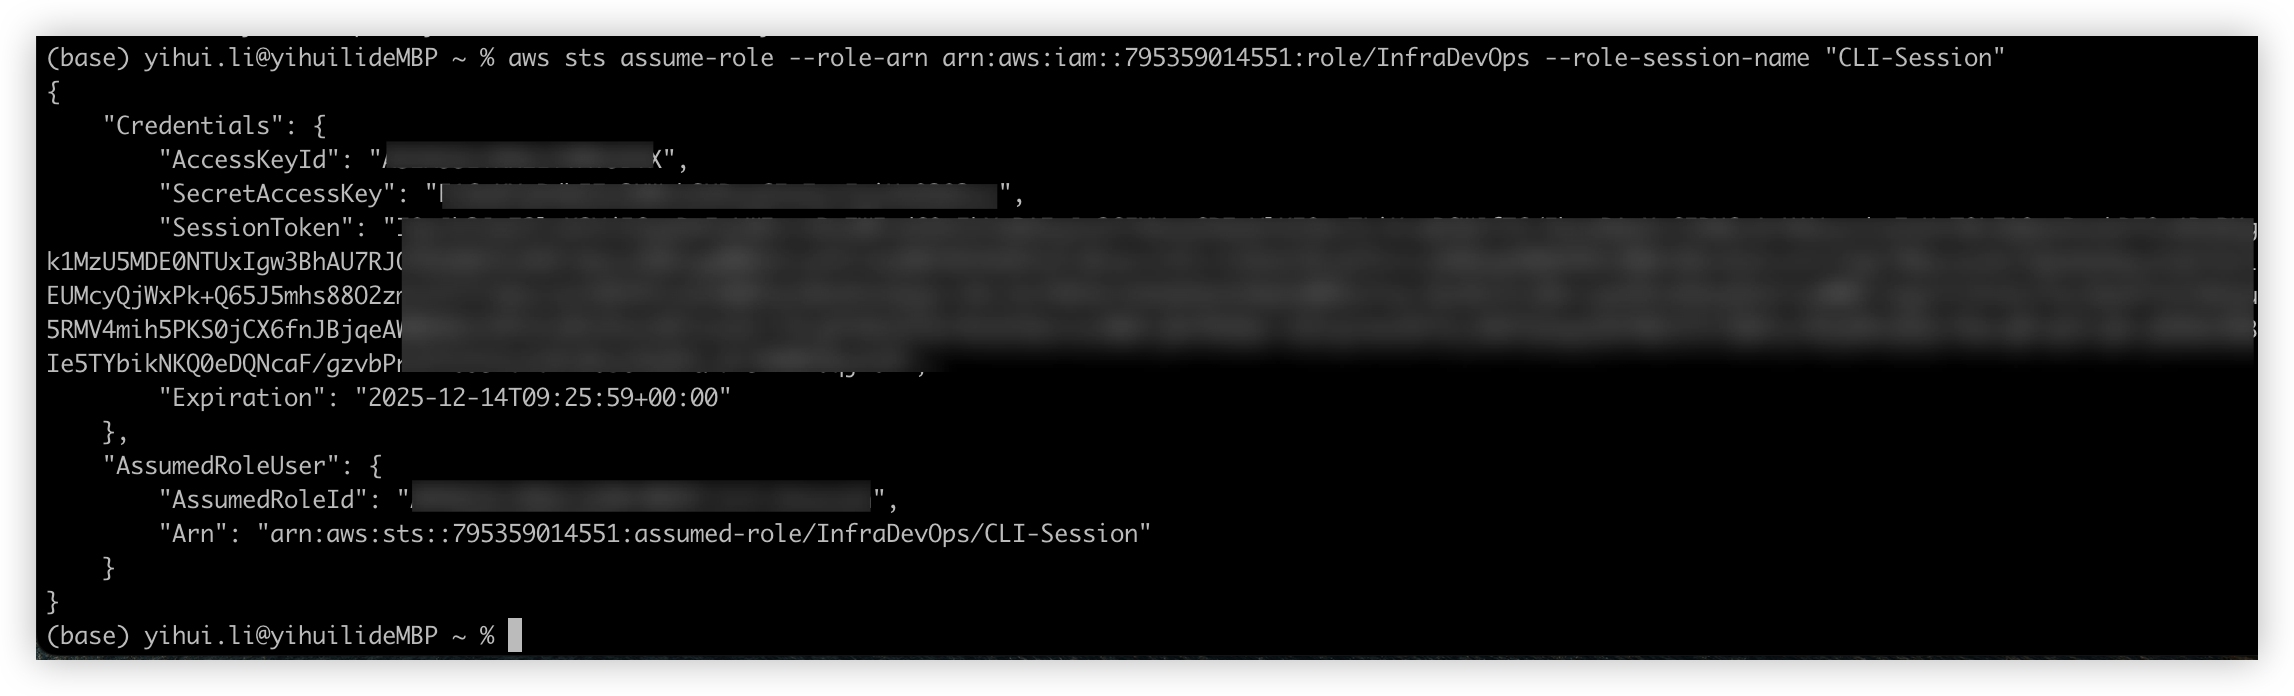
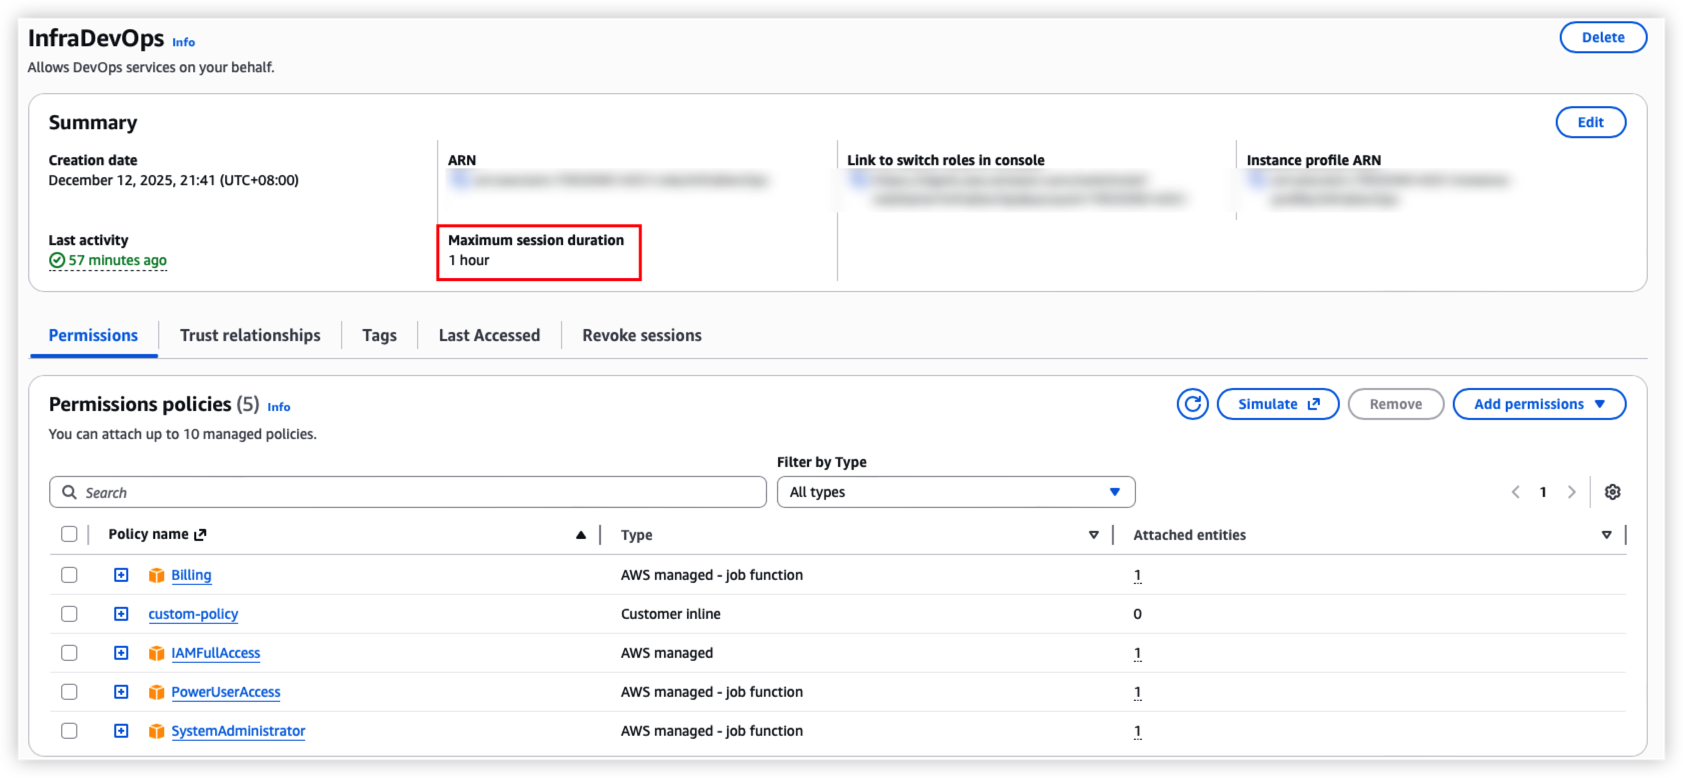
By default, session duration is 1 hour, can use --duration-seconds to specify the vaule.
Session duration can’t exceed the Maximum session duration on AWS IAM role setting.
Or we can choose AWS config file to login.
Run command aws configure, it will create 2 files under ~/.aws/
~/.aws/credentials This file mainly to store Access Key ID and Secret Access Key
~/.aws/config This file will define each aws profile
After the setup done, can use aws configure list to list all profile setting.
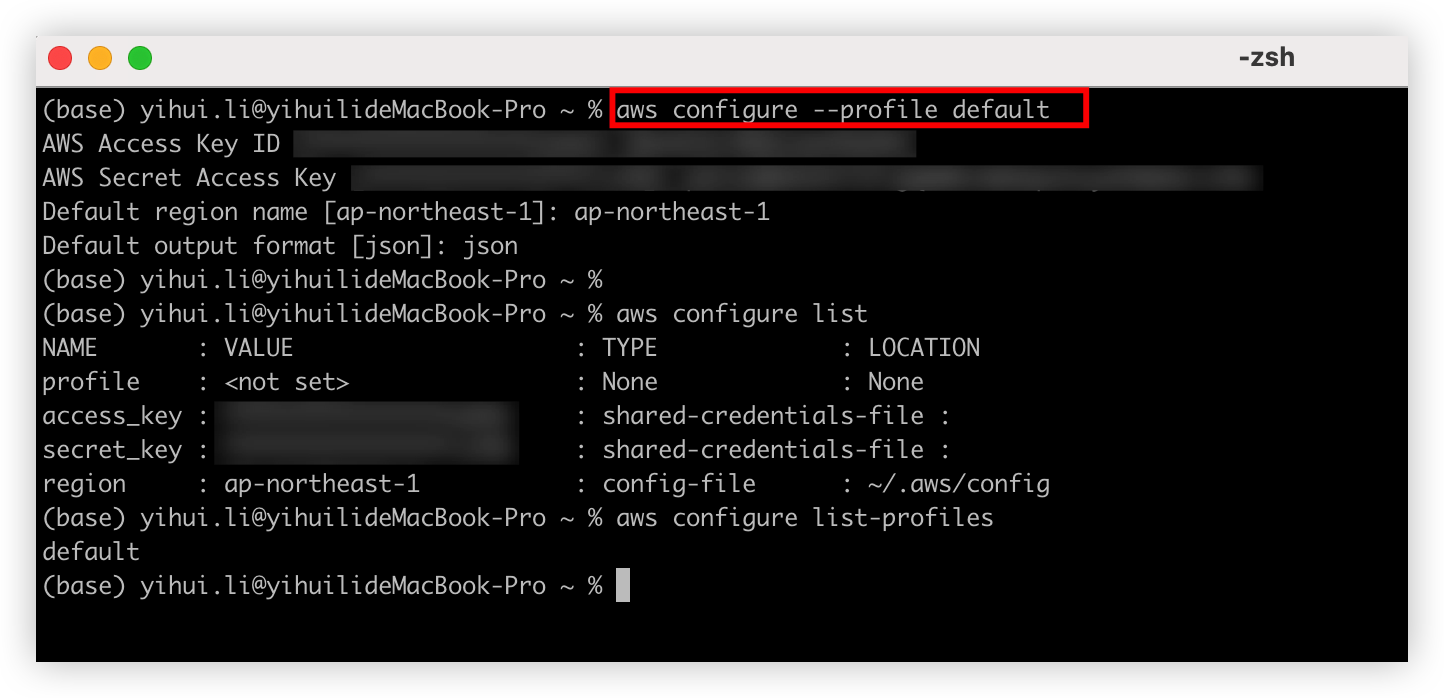
Run below command to login.
If we have many profile defined on ~/.aws/config, can use --profile your-profile-name to specify the value.
1 | export AWS_ACCOUNT_ID="your_account_id" |
Next Step
After the login, it will return the SessionToken, now we should store it together with AWS key pair to the local variable. Because previously we only assume the role, it’s not contain any AWS resource policy, only the token represent the role permission actually.
If we don’t setup the AWS variable including the token, we can’t create any resources on AWS.
Here is the full command.
1 | # AWS CLI assume role |
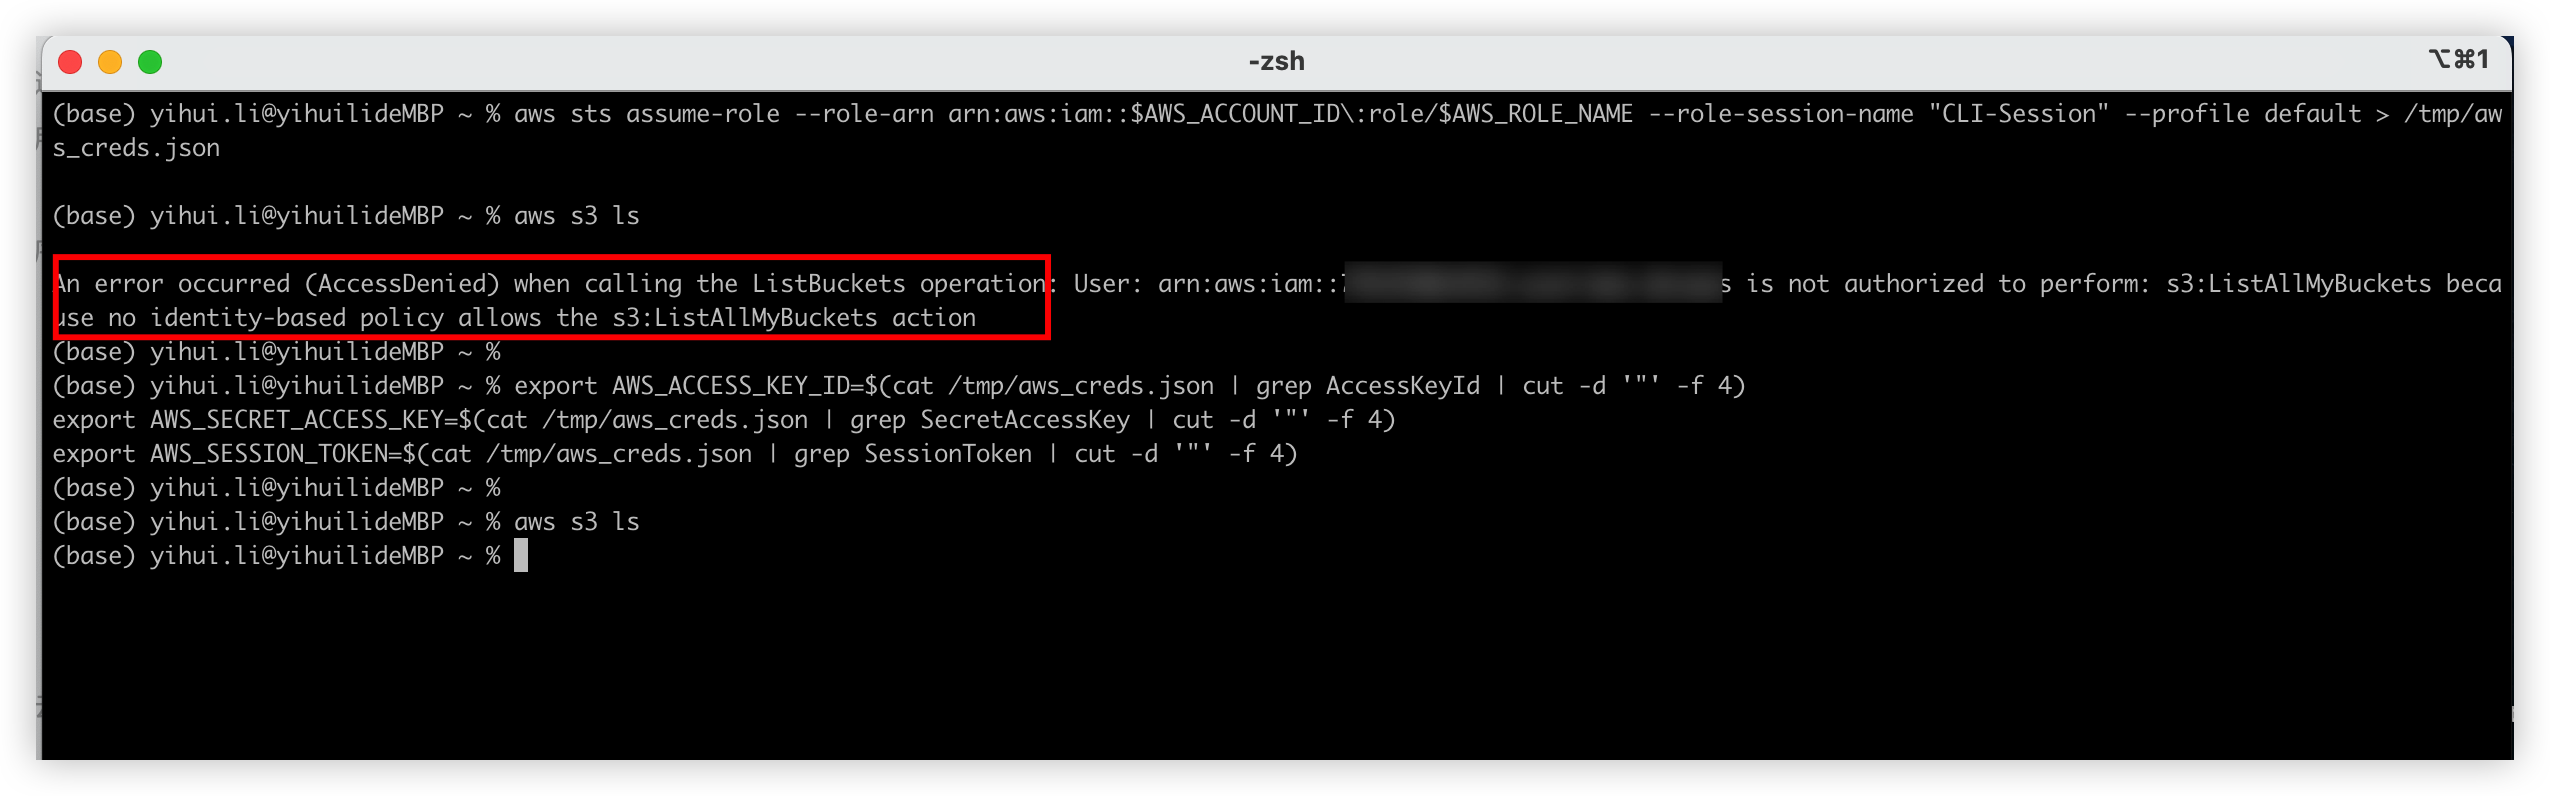
Example
Step 1 only assume role but not specify the IAM role credentials. It will permission deny error.
But step2 works fine after proivide the IAM role credentials.
One click auth script
1 |
|
Result as below

Execute Terraform
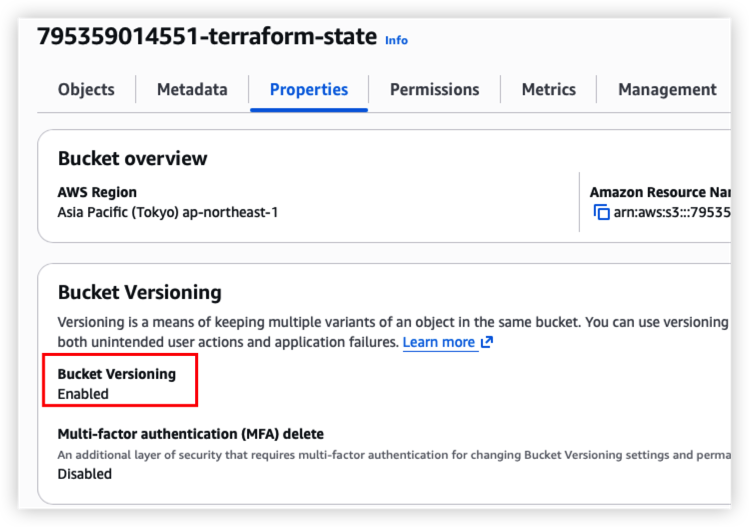
Create terraform state bucket
Run step 1 to step 5, now we can find our own bucket. The bucket mainly to store Terraform state.
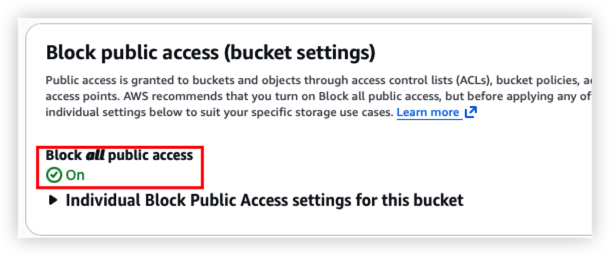
The bucket should include below feature now:
- Enable version for each terraform change
- Enable AES256 server side encryption
- Only authenticated access can access the bucket
Health check result should as below

Run step 6 to create table on DynamoDB.
The table is to store the Terraform lock to prevent concurrent writes and ensures data consistency. Since DynamoDB is a AWS service, the locking mechanism should be good and reliable.
For cost saving, we can skip this part if needed. It will also need DynamoDB IAM access.
*We should also enable the deletion protection as well since it’s a important table, but I will skip this part.

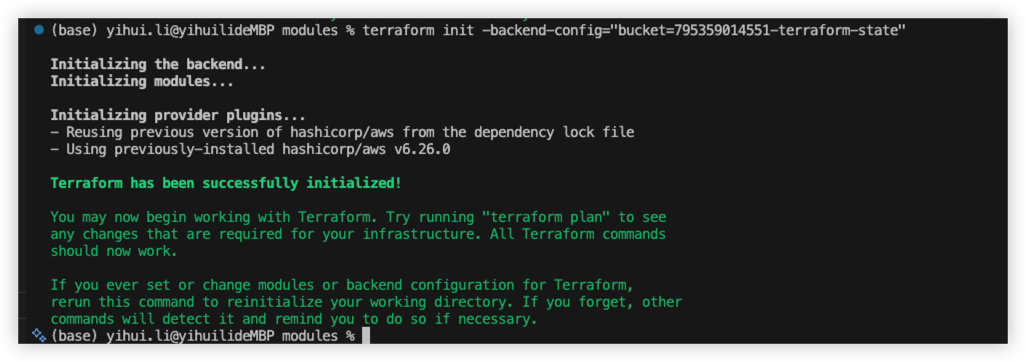
Create EC2
Follow the step7, it wll initialize Terraform local repository, like download the AWS provider.
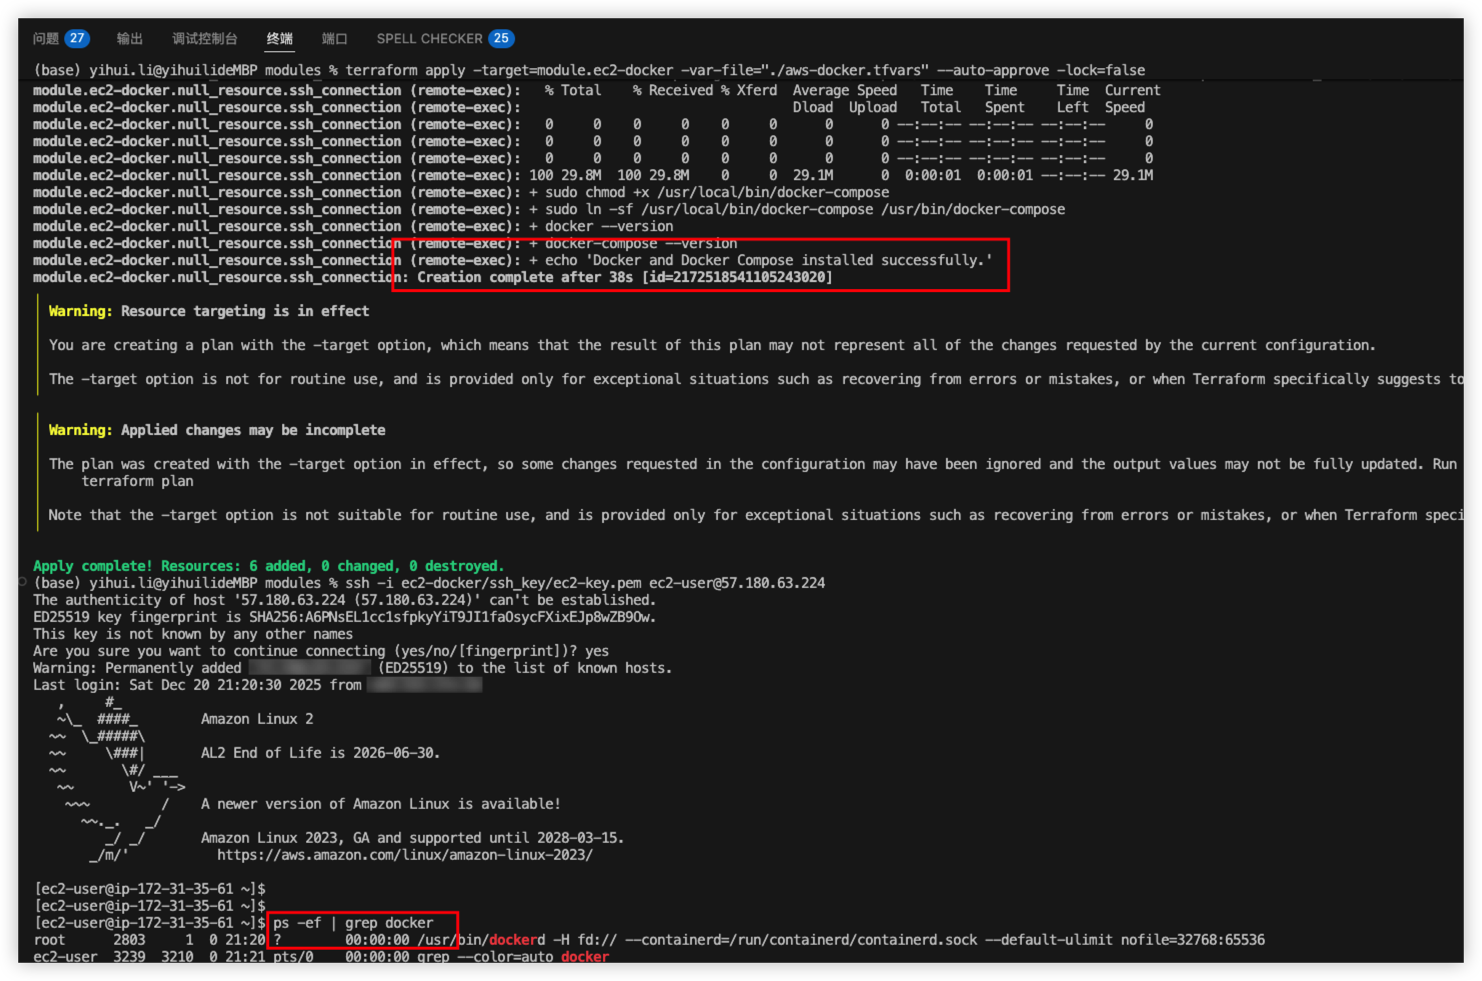
Run step 8 to create EC2 on AWS
This step will:
- Create ssh key pair, store pem file on local and upload public key on AWS
- Create EC2 with Amazon Linux 2 with docker installed
- Assign inbound security group to the EC2
- Allow AWS System Manager to manage EC2
Health check - Below AWS resource should be modified.
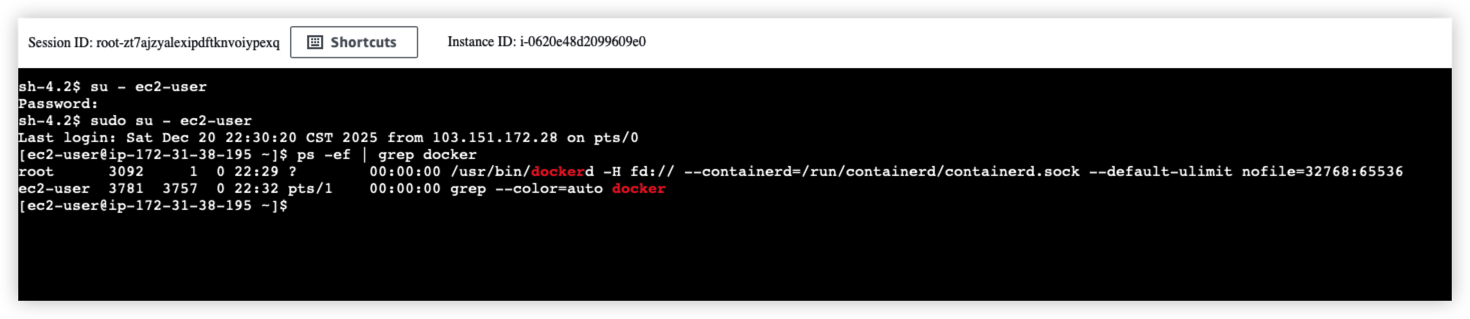
Terraform works fine, ssh connected.
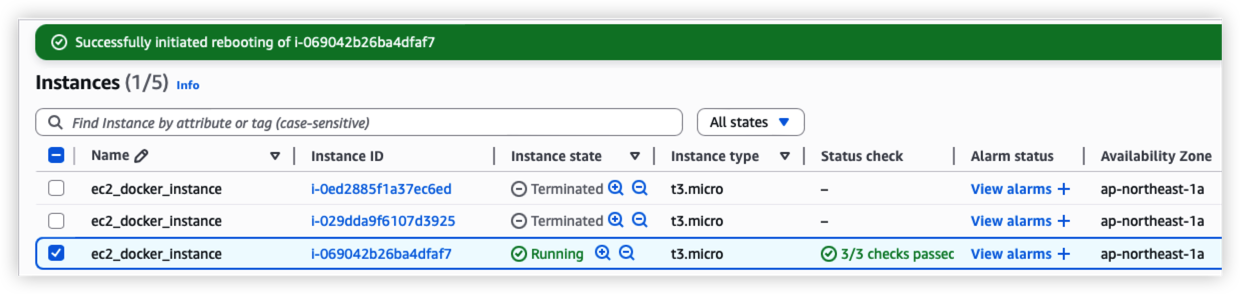
Try to reboot the EC2 from console, the docker process should auto startup
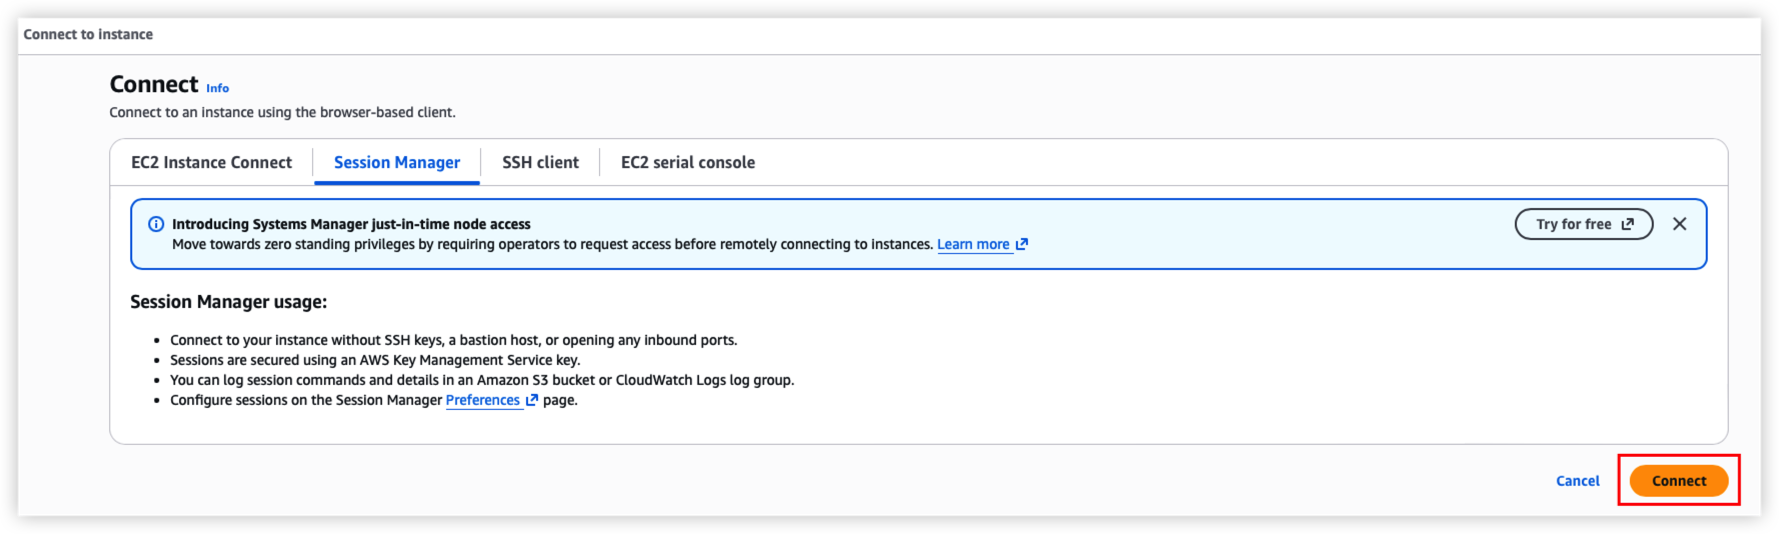
Use System Manager to connect EC2
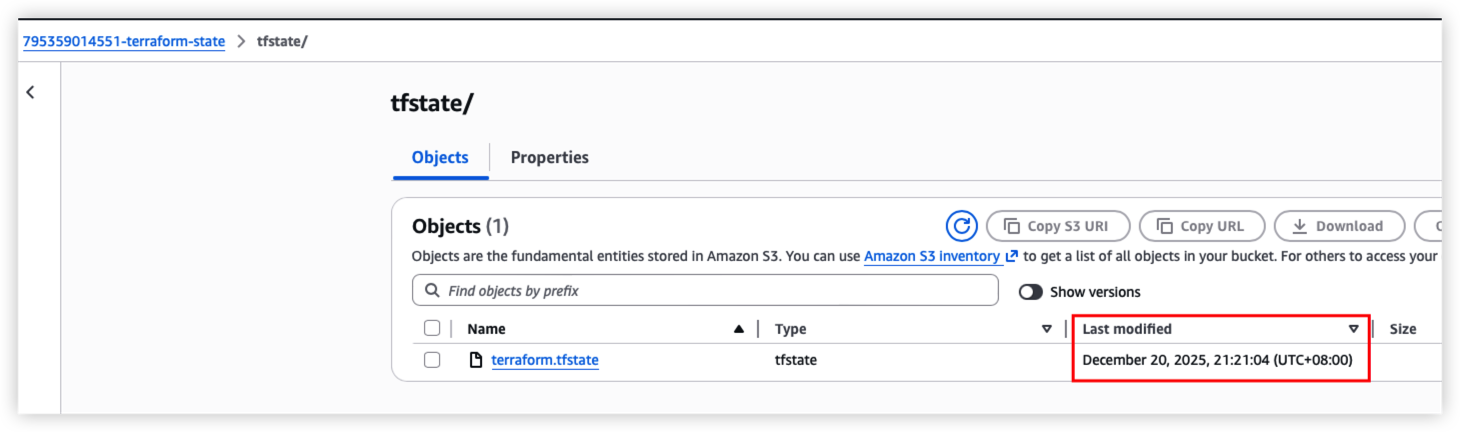
S3 bucket should be updated.
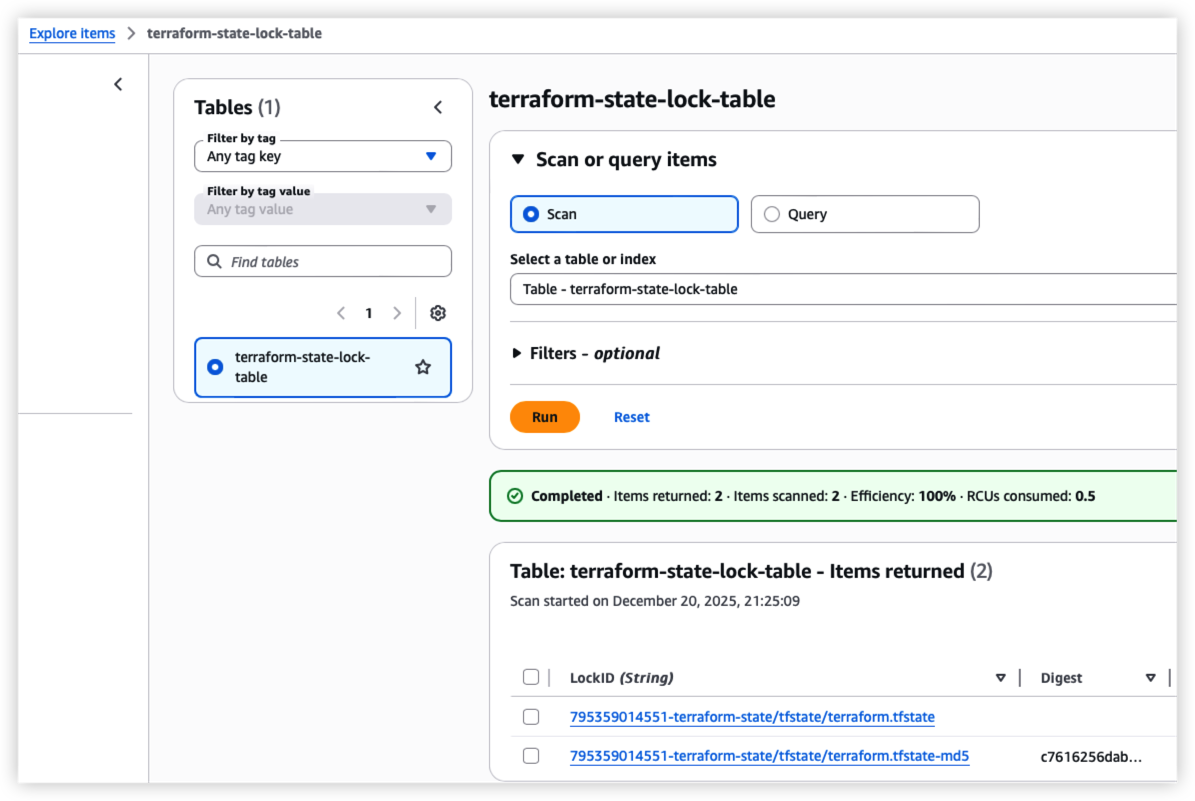
DynamoDB should also updated due to terraform state changed.
About EC2 key pair
During the testing, it will auto create the key pair and store it on local machine.
Actually the key pair is generated by terraform plugin tls_private_key.
But when we destroy the module as below, it will also delete the local file.
1 | terraform destroy -target=module.ec2-docker -var-file="./aws-docker.tfvars" |
To avoid this, we’d better use linux command to generate the key pair first, and then specify the key file path on PROD environment.
1 | ssh-keygen -t rsa -b 4096 -m PEM -f ec2-docker-keypair |
Troubleshoot
Handle terraform state lock
Sometimes terraform state file will be locked as below.

Solution:
Temporarily we can add -lock=false as below to skip the lock
1 | terraform destroy -target=module.ec2-docker -var-file="./aws-docker.tfvars" --auto-approve -lock=false |
For long term solution, we need to handle the S3 status.
Here I’m using S3 + DynamoDB, so I will need to handle the table record as well.
step1, try to init the terraform repository again
1 | terraform init -reconfigure |
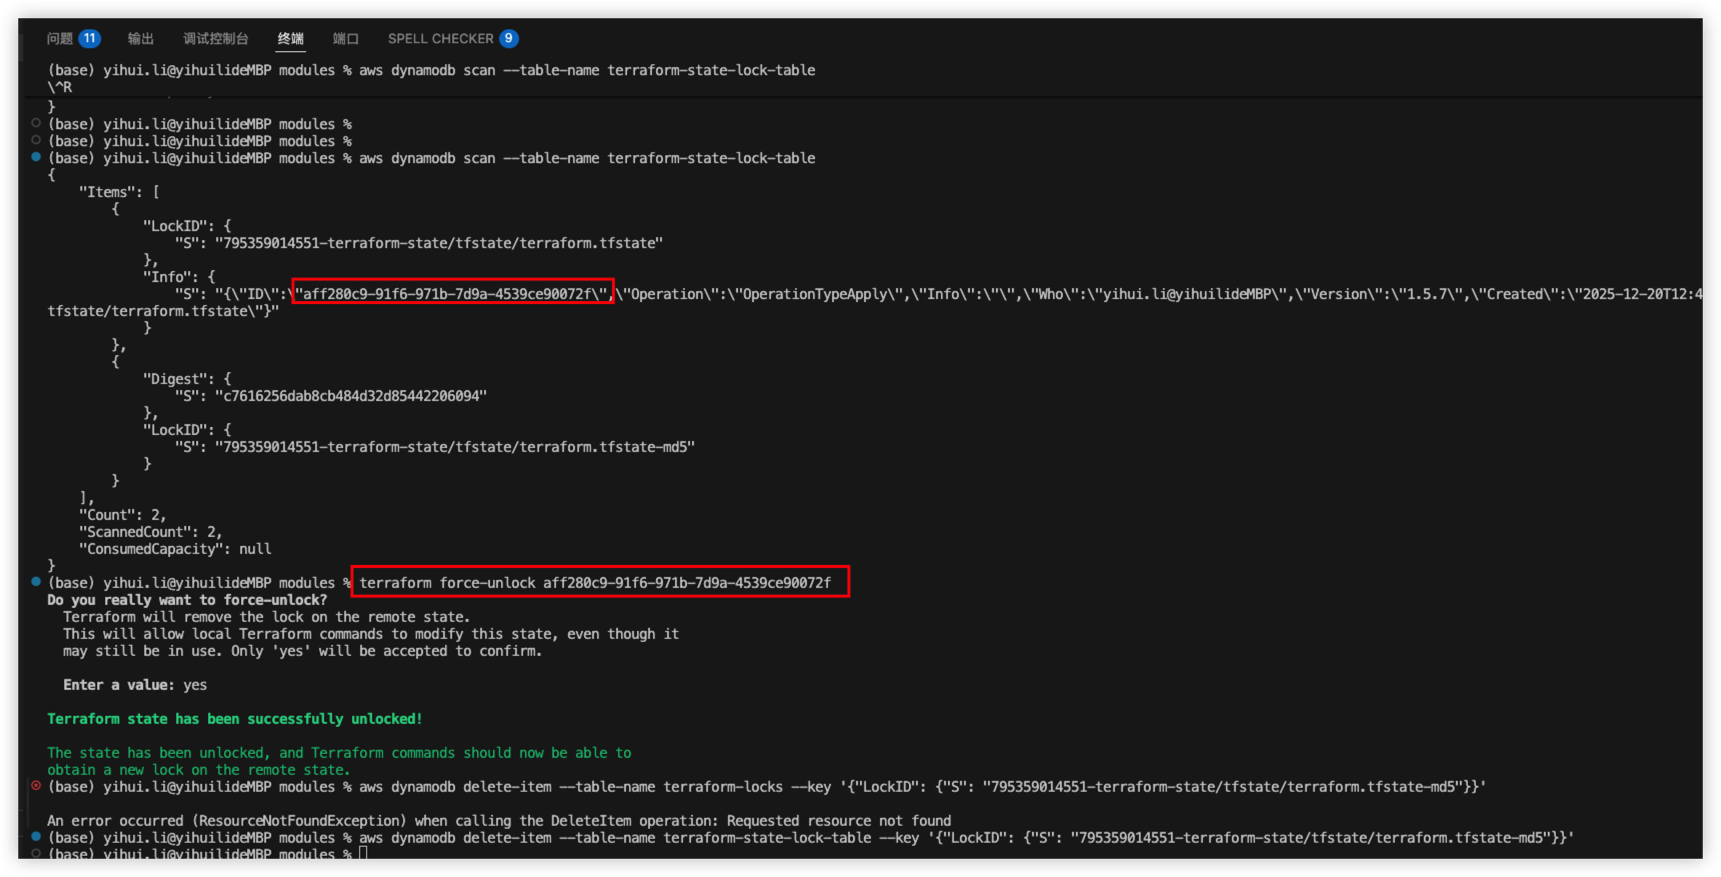
If it’s not working, try force unlock
1 | terraform force-unlock aff280c9-91f6-971b-7d9a-4539ce90072f |
Result as below
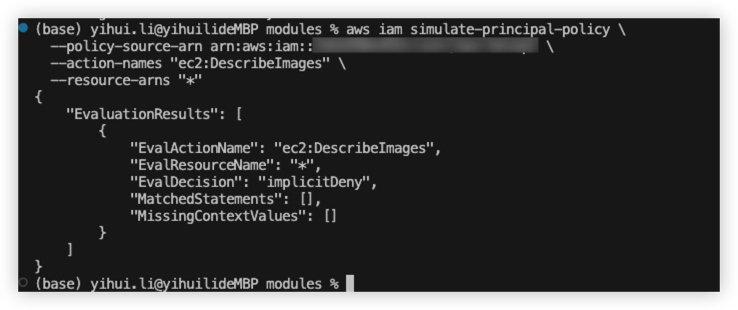
IAM role simulation
During the terraform creating, we might need to check whether our role have enough permission for AWS action, then we can use below command to test.
1 | aws iam simulate-principal-policy \ |
For example
Add 1 if else condition for the public key path
timestamp and hex for security group